How to update your version of Zenario
To quickly update your Zenario installation, please follow these steps.
1. Take a database backup
Before you start, you should log into your site as an Administrator, navigate to Configuration -> Backups, then create a database backup on the server.
Alternatively you can take a dump of your database using phpMyAdmin, mysqldump, or a similar tool.
2. Put the latest version of Zenario on your server
You should download the .zip file, unzip it on your local machine, and then use a FTP program to upload the files to your server.
Alternatively, if you have ssh access it's faster to download the .tar.gz file, upload it to your server and then unpack it by running:
cd /path/to/new/files/
tar xfz community-7.1.0.tar.gz
It doesn't matter where you put this file, we recommend you place it somewhere outside of your web-root.
3. Replace your old version with the version
You'll need to replace your site's zenario directory with the new one from the package, e.g.:
cd /path/to/my/website/
mv zenario zenario_old; mv /path/to/new/files/zenario .
(Note that you must not merge new files in with old ones).
You will need to do the same for the .htaccess file and the robots.txt file as well:
mv .htaccess .htaccess.old; mv /path/to/new/files/.htaccess .
mv robots.txt robots.txt.old; mv /path/to/new/files/robots.txt .
(If you have modified these files yourself you may need to manually merge any changes.)
4. Apply database updates
As soon as you switch to the new version, your site will automatically disable itself (it will be down for visitors) if the database schema needs to be changed.
If there are only minor changes then your site will remain online, but there may still be some updates to apply.
Applying database updates is easy. Just log in as an administrator in the usual way, and you should see this screen:
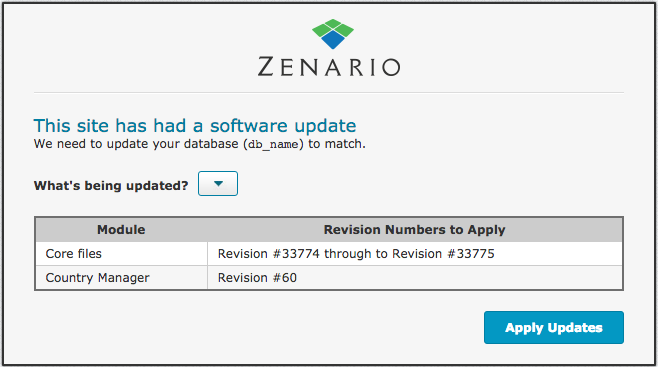
You should click on "Apply Updates" to apply the database changes.
5. Remove the old files
When you are happy with the upgrade, you should remove the old files that you moved in step 3.